Getting Started
This exercise familiarizes you with Consul and how it works with your application.
Run the file docker-compose.yml in the examples\getting_started to start a Consul server and two services.
➜ docker-compose up
Creating network "getting_started_vpcbr" with driver "bridge"
Creating getting_started_api_1    ... done
Creating getting_started_consul_1 ... done
Creating getting_started_web_1    ... done
Attaching to getting_started_api_1, getting_started_consul_1, getting_started_web_1
The Docker Compose file has three services:
- Consul
- Web
- API
The Web and API services are not typical Docker containers, for this demo we are simulating Virtual Machines. These services do not follow the standard convention of a single binary running in a container, instead we are running multiple processes using supervisor.
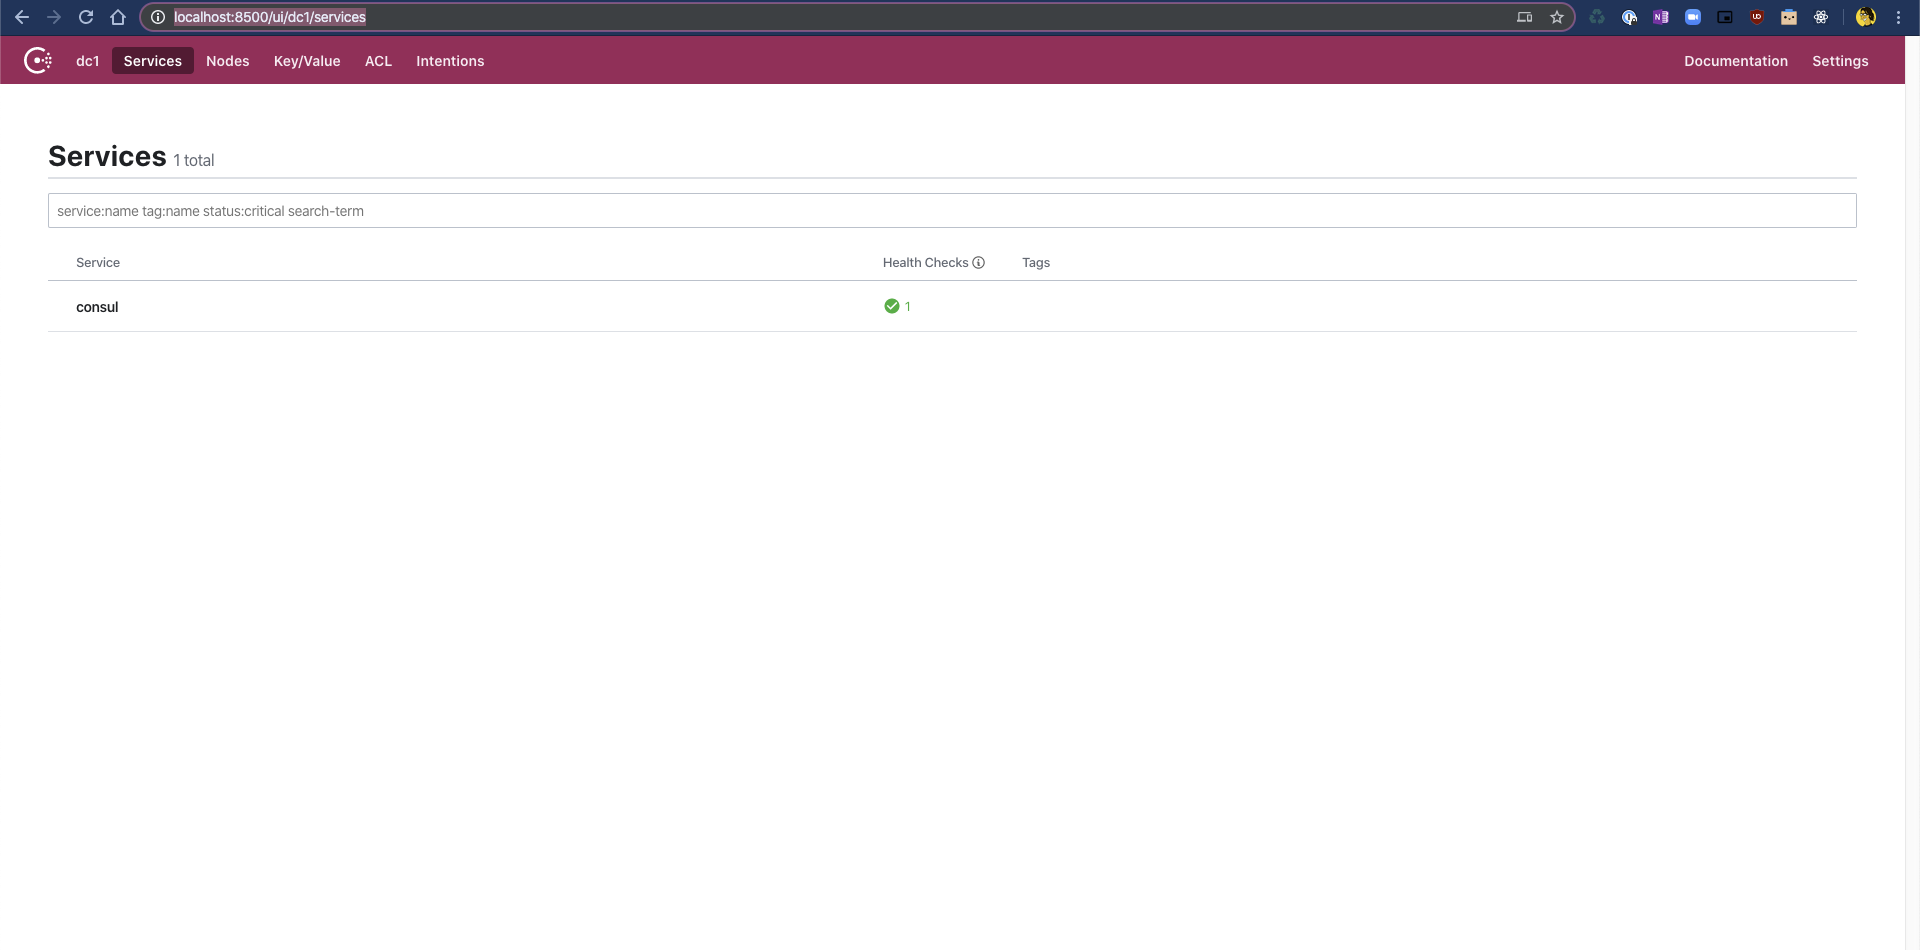
You should be able to access the consul server in your browser at http://localhost:8500
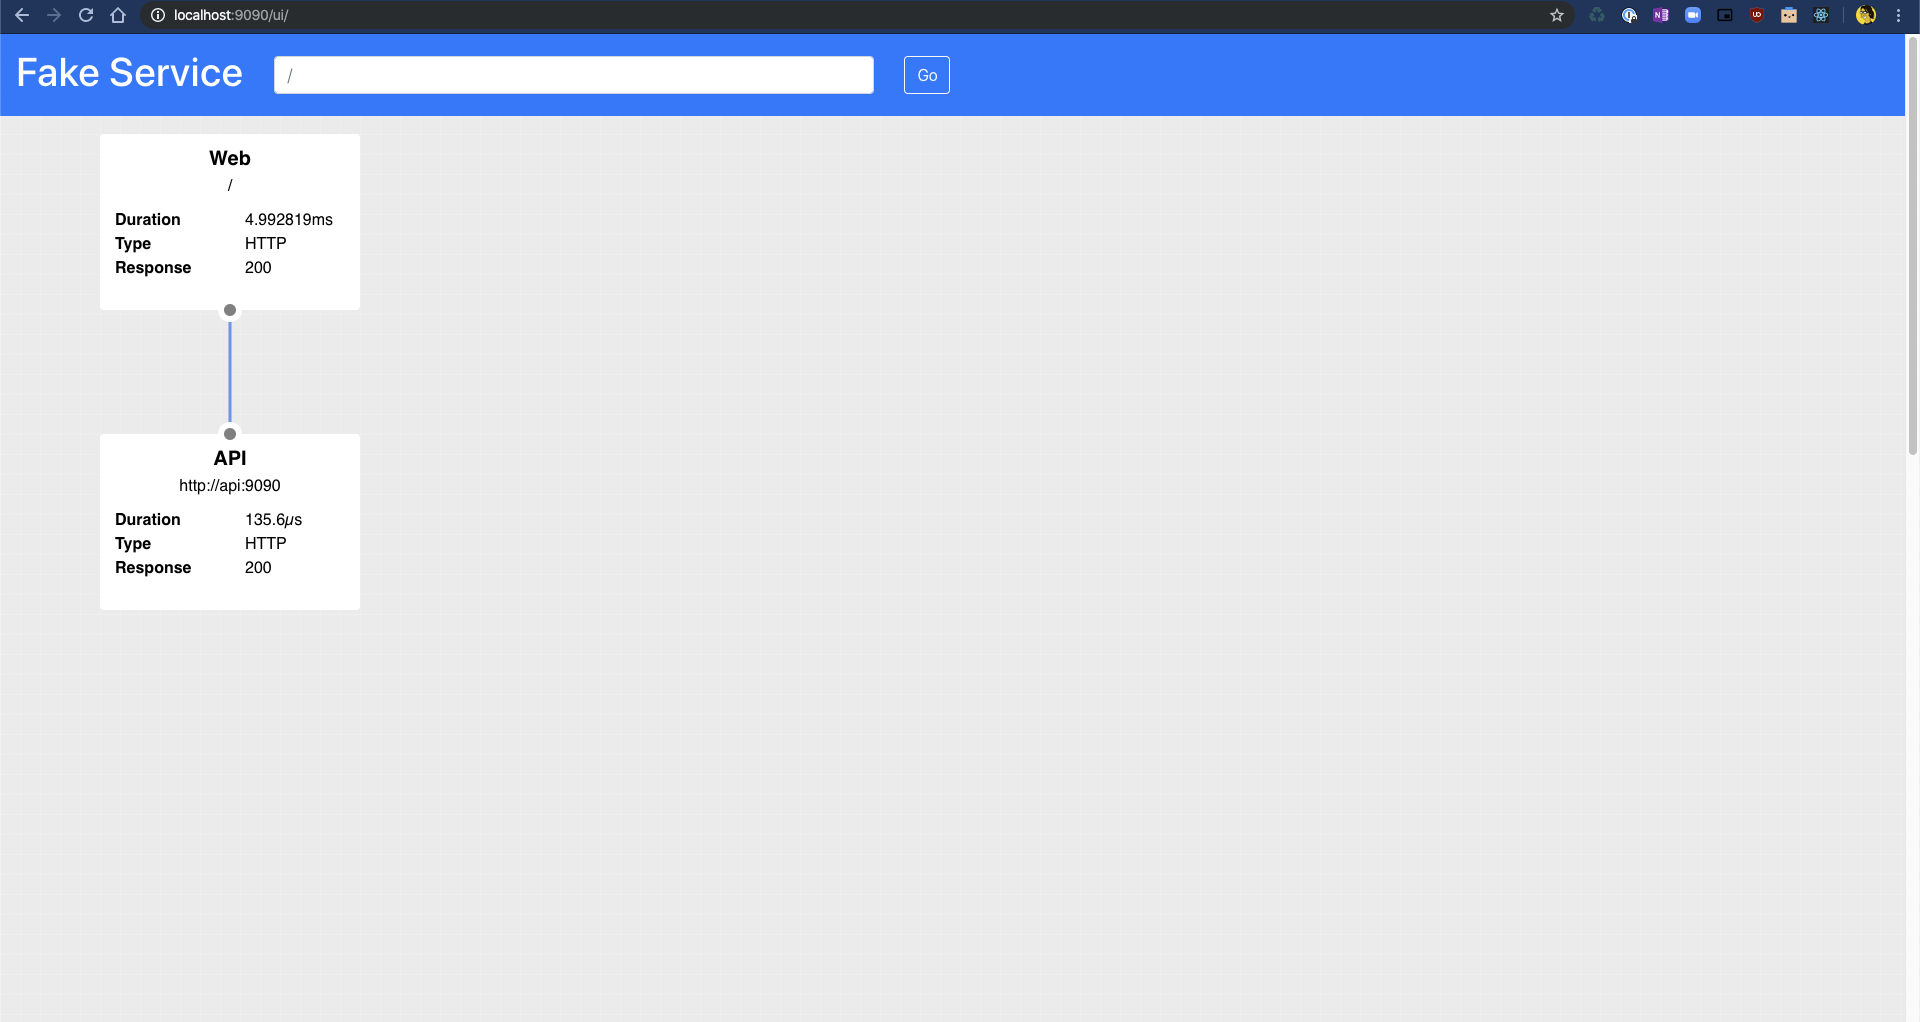
You will also be able to access the application which is running at http://localhost:9090/ui
The typical Consul architecture is that you have a server cluster, normally 3/5/7 nodes, and an agent which runs on each node. The agent is responsible for performing health checks against its local service. Loadbalancing requests to the server nodes. Caching data, and can act as a DNS server transforming DNS requests into Consul service catalog requests.
On your api and api Docker containers the Consul Agent is running with supervisor, this is a basic configuration, which allows us to set the datacenter name, the retry-join address in order to connect to the server, and a few other options.
[program:consul]
command=/usr/local/bin/consul agent -datacenter %(ENV_CONSUL_DATACENTER)s -config-dir /config -client 0.0.0.0 -retry-join %(ENV_CONSUL_SERVER)s -bind 0.0.0.0 -grpc-port=8502 -data-dir /tmp -hcl "enable_central_service_config = true"
autorestart=true
priority=100
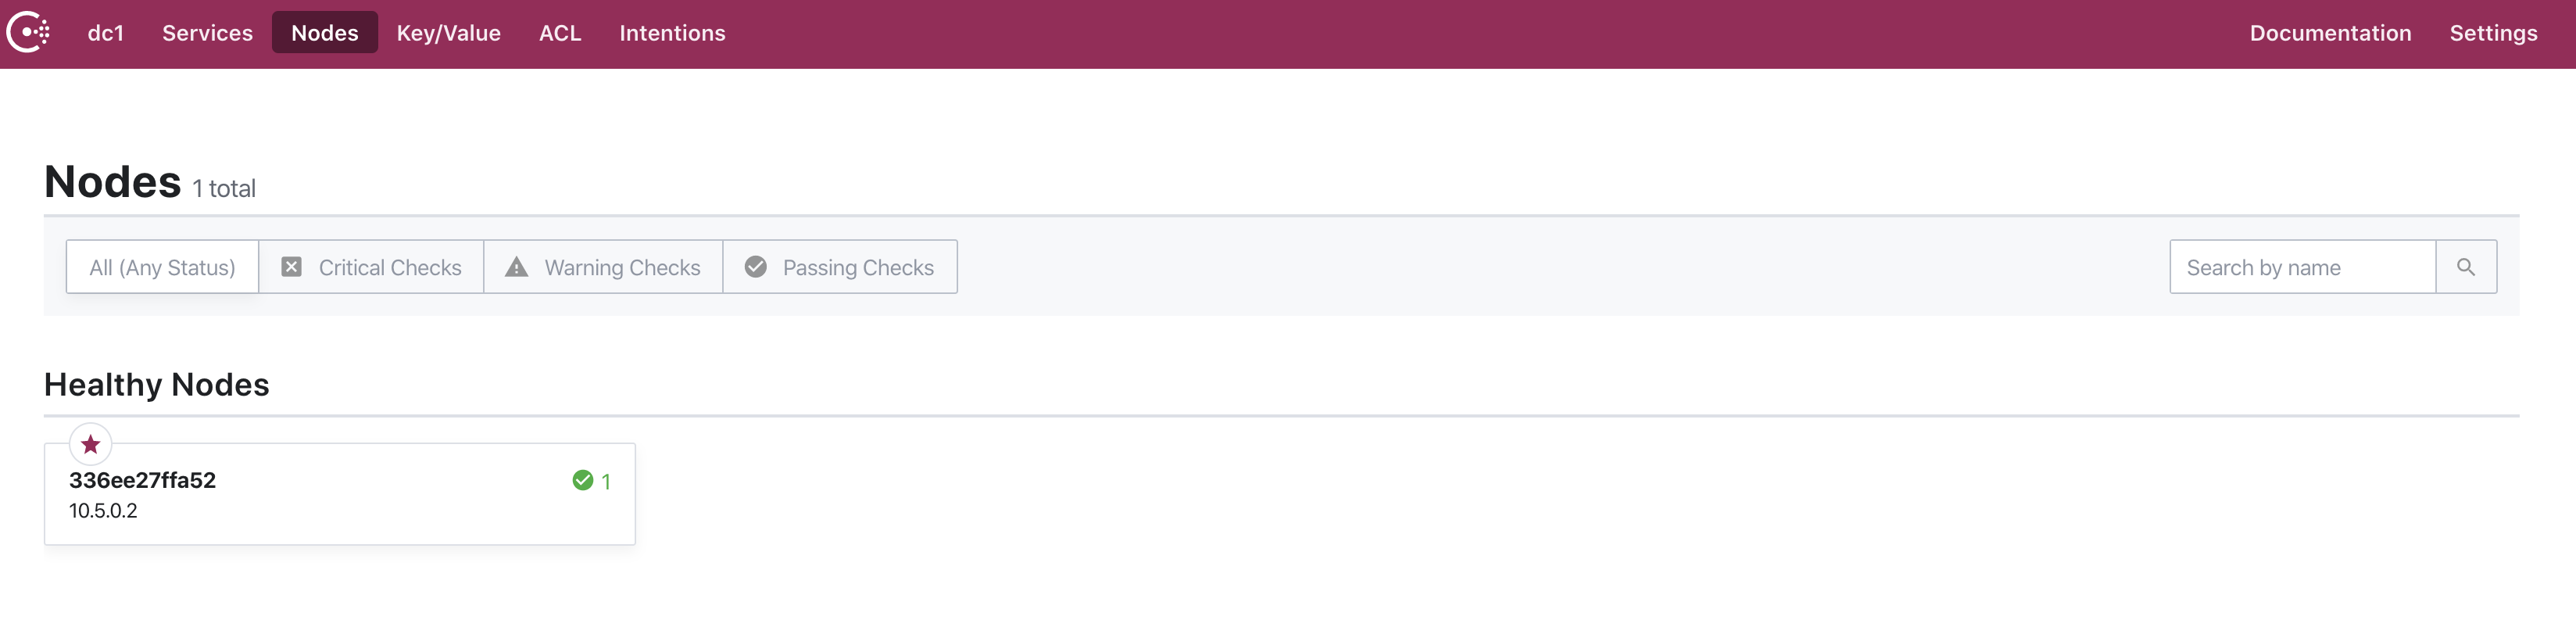
If you click on the Nodes menu item in the Consul UI, you should see 1 healthy node. We’ll add configuration to the web and API nodes next!
For full details on Consul options and configuration please checkout the Consul documentation: https://www.consul.io/docs/agent/options.html
The Learn platform also has a number of tutorials on configuring Consul clusters: https://learn.hashicorp.com/consul?track=getting-started
Registering Services
In order to register a service we need to tell consul about the service. This is typically performed using a config file for each service. The following definition is the minimum information for our demo. We are going to specify the name of the service which will be registered in the service catalog. The id for this particular service instance, this must be unique across all service instances. And the port which the service is running on.
service {
  name    = "web"      # Service name
  id      = "web-v1"   # Specific to the particular service instance, if omitted defaults to name
  port    = 9090       # Add the port to the service catalog
}
The service definition file is specific to the service instance, and the most convenient way to register this is to add it to the agents config folder. When an agent starts or receives a reload command it will automatically process files in this folder.
Create this file and save it as web.hcl under the server_config directory.
Since your Consul agent already has a config-dir set to /config we can use a Docker volume to drop this file into your Fake VM.
Add the following to your docker-compose.yml under the web service.
  web:
    image: nicholasjackson/fake-service:vm-v0.7.8
    volumes:
      - "./server_config/web.hcl:/config/web.hcl"
    ## Omitted for clarity
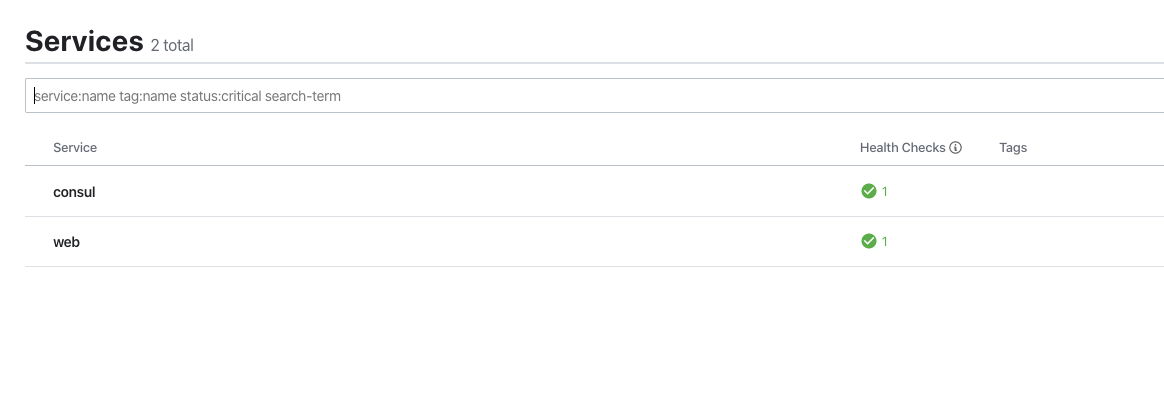
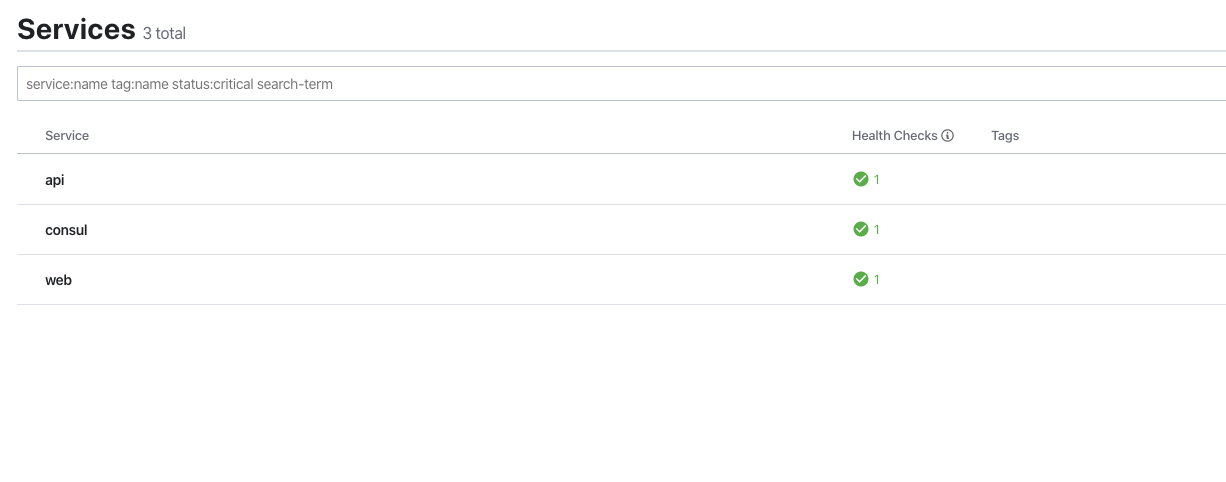
If you look at the UI you will now see that the service has been registered.
Repeat this process for the API service.
If you completed this correctly you should now see 3 services registered in the Consul UI.
Enabling Service Mesh
In addition to registering the service we need to add a DataPlane or proxy for the service to be part of the service mesh. To do this we can use the command consul connect envoy -sidecar-for [service id]. This command automatically generates the configuration required for the Envoy data plane and starts it. When running on a virtual machine, you would typically run this command with something like supervisor. An example of this configuration can be found below:
[program:envoy]
command=/bin/bash -c "/usr/local/bin/consul connect envoy -sidecar-for %(ENV_SERVICE_ID)s -envoy-binary /usr/local/bin/envoy"
autorestart=true
startretries=300
priority=200
The web and api services already have this process running in supervisor, however, simply setting the SERVICE_ID environment variable is not enough to enable the service mesh. You have to modify the configuration for your service, explicitly telling consul that proxies are enabled for this particular service instance.
This is completed using the connect stanza, for a default configuration you can simply register an empty sidecar_service block in your service configuration.
Add the following connect stanza to your web and api service config (in server_config/web.hcl and serverr_config/api.hcl, respectively). Note: This block is a child of the main service stanza.
  connect {
    sidecar_service {}
  }
You should end up with something which looks like:
service {
  name = "api"
  id   = "api-v1"
  port = 9090

  connect {
    sidecar_service {}
  }
}
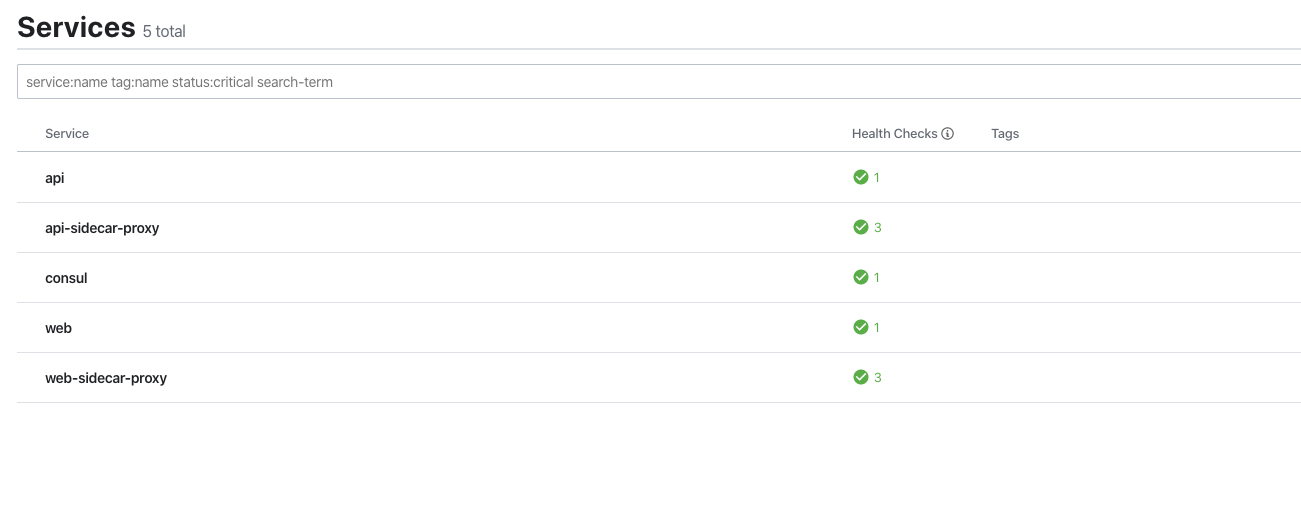
Once you have added the stanza to both files, restart your docker-compose configuration, you should see the sidecar proxies shown in the services view:
Configuring upstreams
You now have your dataplanes configured for each of the services, however; there is one final step, we need to ensure that the traffic between the services is routed through the proxy. Registering each proxy will enable an inbound connection for each of the services but for outbound connections we need to explicitly define these upstream routes.
Your web service needs to communicate to the API service so let’s configure an upstream for this. An upstream stanza configures the dataplane to expose another service on a local port. All service discovery and loadbalancing to the different service instances will be handled by the dataplane. Your application only needs to make a connection to localhost.
To allow a connection to the API service you can configure an upstream stanza like the following. This block has the destination_name defined, this is the name of the service you would like to communicate with. The local_bind_port allows you to configure which localhost port to use for this service.
upstreams {
  destination_name   = "api"
  local_bind_port    = 9091
}
Add this block to the service definition for your web service in service_config/web.hcl. Your final service should look like the following example:
service {
  name = "web"
  id   = "web-v1"
  port = 9090

  connect {
    sidecar_service {

      proxy {
        upstreams {
          destination_name   = "api"
          local_bind_port    = 9091
        }
      }
    }
  }
}
In your docker-compose.yml, examine the web section. The environment variable UPSTREAM_URIS is set to http://api:9090. Change this value to http://localhost:9091so that the Web service will use the service mesh to communicate with the API service.
  web:
    image: nicholasjackson/fake-service:vm-v0.7.8
    environment:
      LISTEN_ADDR: 0.0.0.0:9090
      UPSTREAM_URIS: http://localhost:9091
    ## Omitted for clarity
To make 100% sure that you are not sending any traffic over the docker network you can change the environment variable LISTEN_ADDR on the api service in the docker-compose.yml. Currently this is bound to all IP addresses. However; when you are using a service mesh only the dataplane needs public ingress so it is possible to change this to only listen on localhost LISTEN_ADDR: localhost:9090.
  api:
    image: nicholasjackson/fake-service:vm-v0.7.8
    environment:
      LISTEN_ADDR: localhost:9090
    ## Omitted for clarity
Once all these changes have been made, restart your application:
# Ctrl-C
Killing getting_started_web_1     ... done
Killing getting_started_api_1     ... done
Killing getting_started_consul_1  ... done

$ docker-compose up
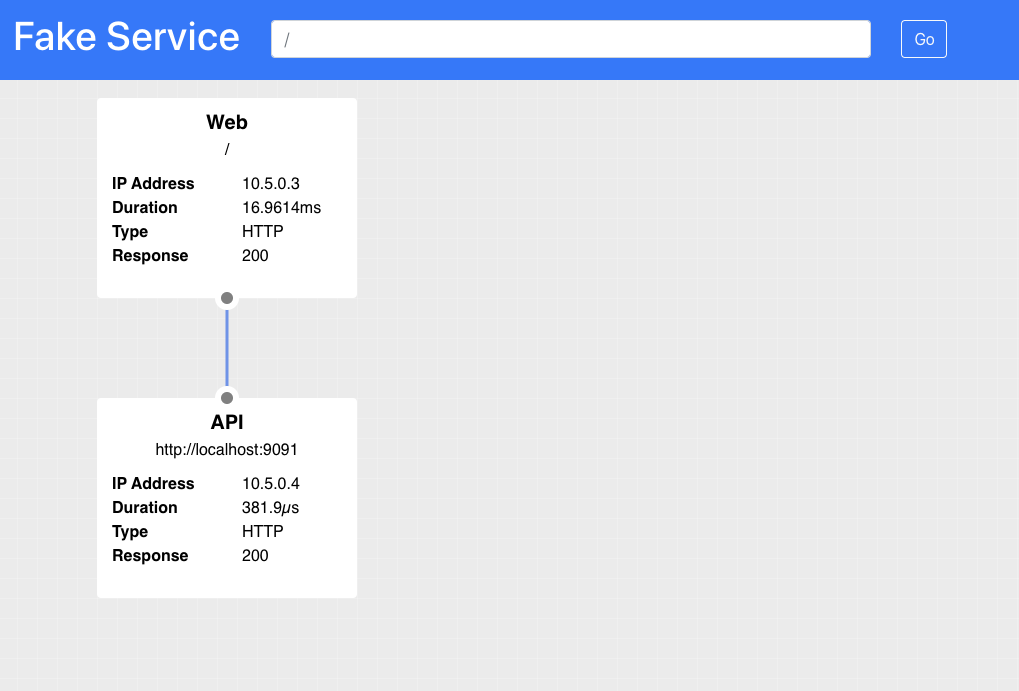
and reload the Web service at http://localhost:9090/ui. You should still see the API service successfully called however the URI is not http://localhost:9091 instead of http://api:9090.
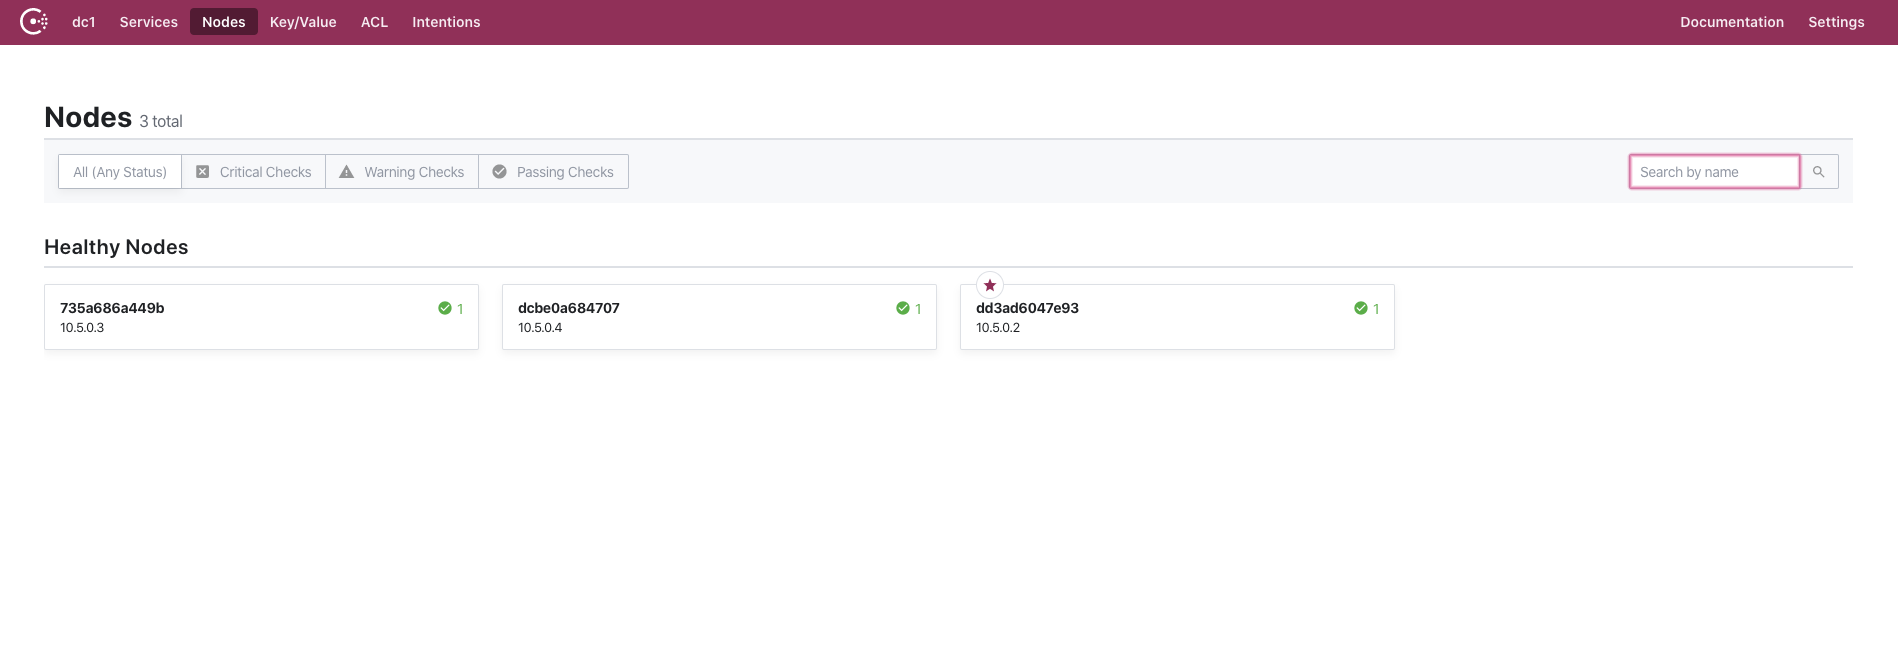
In Consul at http://localhost:8500, you should see three nodes: Consul, Web, and API.
Summary
In this section you have learned how to configure two existing services inside of a service mesh. The next section will look at how we can enable Consul Service Mesh for your new Greenfield service in Kubernetes.